About this tool
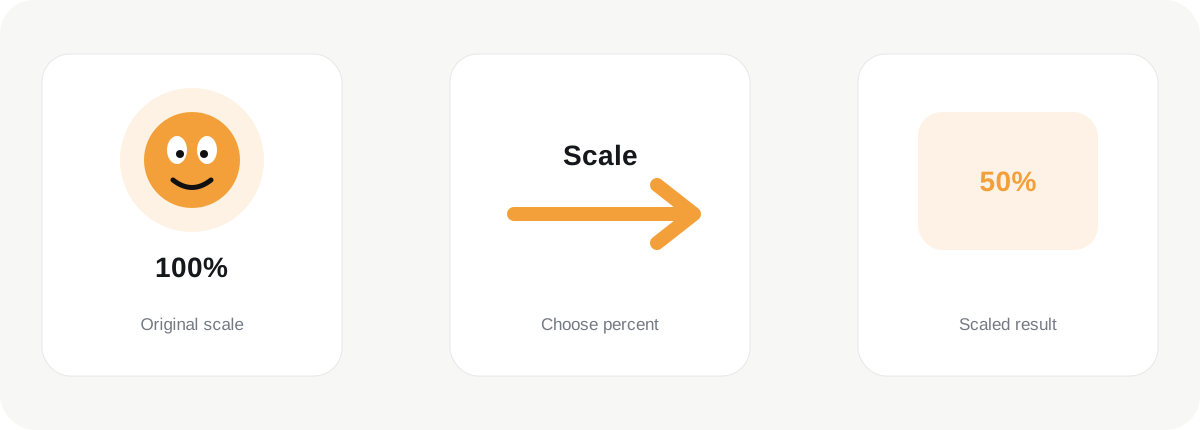
Resize by Percentage provides a simpler way to scale image dimensions when you do not know the exact output pixels. Choosing 50% halves both width and height, while 25% reduces each dimension to one quarter of its original value. Because both axes scale together, the original aspect ratio is naturally preserved.
How it works
Percentage resizing is useful for quickly creating smaller previews, reducing large camera images, producing lighter working copies or creating variants at predictable relative sizes. It is also an easy way to understand how much resolution is being removed. A 4000×3000 image resized to 50% becomes approximately 2000×1500 pixels, while 25% becomes approximately 1000×750.
What affects the result
It is important to remember that file size does not scale linearly with the percentage value. Halving width and height reduces the total pixel count to roughly one quarter, but the final encoded size also depends on image format, compression settings and visual complexity. The result-size display is therefore more informative than estimating file size from dimensions alone.
When to use it
Scaling above 100% creates more pixels but does not create new photographic detail. Enlargement can be useful for layout compatibility, but it should not be confused with AI enhancement or restoration. The browser interpolates existing pixels to fill the larger dimensions. If true detail generation is required, a dedicated enhancement workflow is more appropriate.
Best practice
Use Resize by Percentage for fast proportional scaling and Resize by Pixels when a destination specifies exact dimensions. Keep the source image as your master so future variants can always be generated from the best available version rather than from a previously reduced copy.
What percentage should I choose?
A useful percentage depends on how oversized the source is compared with its destination. Large camera images may be several thousand pixels wide, so 25% or 50% can still leave plenty of resolution for websites and documents. Small source images should be reduced more carefully because they contain less detail to begin with. Enlarging above 100% can meet a technical dimension requirement, but it does not create real new detail and can make softness more visible. Percentage resizing is therefore best for proportional scaling, while exact-pixel resizing is better when a platform publishes a fixed width and height.
Practical workflow tip
For multiple images, percentage scaling preserves each file's own aspect ratio while applying the same relative reduction across the set. That makes it useful when sources have different dimensions but need a consistent treatment rather than one fixed width. Review the output dimensions in the queue because a 50% scale produces different pixel sizes for differently sized originals.